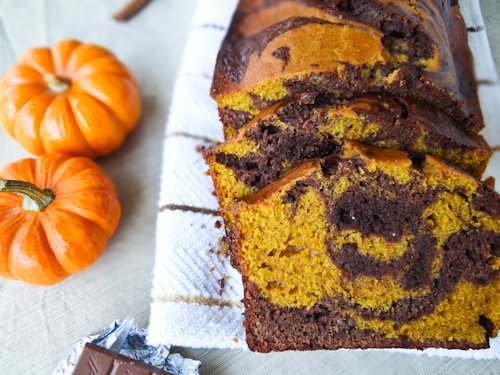
I Moved!

Hi everyone! The blog has moved over to my own domain, so please visit www.lawfullyweddedwife.com for all future posts! If you are subscribed to me via Google Reader or email, please visit the new site to subscribe to the new website’s feed. Thanks and I’ll see you there!


-Lauren

Leave a comment

Filed under Uncategorized

Whole Wheat Southern Style Biscuits

Happy Sunday to you all! I actually have gotten a moderate amount of things accomplished this weekend, which is good. I finally picked all of the courses I’m registering for (spring registration is THIS week! :0 ) and checked a couple other items off my to-do list. Tomorrow I’ll be spending the first part of the day training with my local voting registrar–I’m going to be an election official this November! I’m really glad I decided to do it because I really care about the election process but haven’t been as good as I should be about getting involved or even voting myself. 😛 So this week is going to be a busy one. Even more of a reason to have a big Sunday breakfast treat!
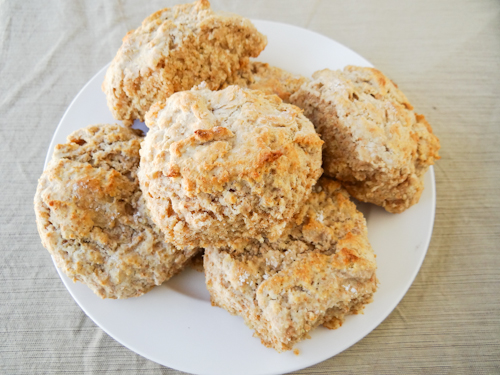
This biscuit recipe has been a long time coming. I wanted to share a biscuit recipe with you, but could never get my biscuits perfect. But I’ve finally gotten my ideal biscuit (taste-wise…they’re still not the prettiest things! :P), and since it’s Soul Food Sunday it seemed like the perfect time to show you. Because this has been such a journey for me, I wanted to share the most important rules of a perfect tasting biscuit that I’ve learned from other bakers.

1. Don’t overmix. Biscuit dough is not meant to be kneaded, but mixed just until the dough comes together.

2. Use very cold butter, you don’t want it to melt until it hits the oven.

3. Don’t roll the dough out with a pin, just gently use your hands.

3. Cut the biscuits thick, and don’t twist before you release the cutter.

4. Bake the biscuits close to eacother(so that they touch) in the top half of a very hot oven.
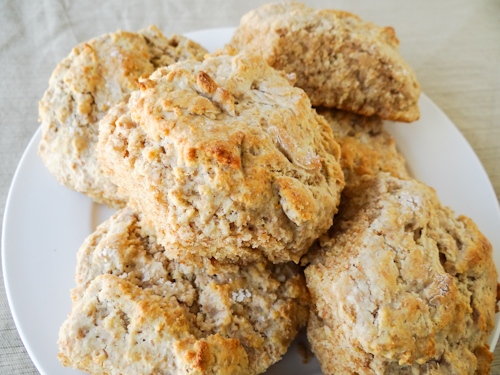
It seems like  lot to remember, but most of it just involves really following directions closely. It took me so long to perfect this recipe and technique, I’m so glad I can finally share it with you! I have a traditional version and a vegan version that both make delicious biscuits. They may not be glamorous looking, but that’s because they’re too busy tasting amazing.

Whole Wheat Southern Style Biscuits

  • 1 c. all-purpose flour (White Lily brand is best if you can find it)
  • 1 c. whole wheat pastry flour
  • 1 T. baking powder
  • 1/2 t. baking soda
  • 2 t. salt
  • 2 t. sugar
  • 6 T. butter, cold
  • 1 c. buttermilk, cold

-Preheat oven to 450 degrees

-In the bowl of a food processor, pulse together the flours, baking powder, baking soda, salt, and sugar.

-Cut the butter into slices and then dump the slices into the dry mixture in the food processor. Pulse until the butter is chopped into coarse crumbs.

-Add the buttermilk and pulse the mixture a few times, just until it all comes together in one mass.

-Remove the dough onto a lightly floured surface and pat it out with your hands to about 1/2″ thickness. Fold the dough over itself twice, then pat it all out to 1″ thickness.

-Cut out 6 large biscuits using a biscuit cutter or the rim of a glass, and remove the biscuits to an ungreased pan so that they are gently touching each other.

-Bake in the preheated oven for 10-12 minutes, or until the biscuits are light golden brown.

-Cool for 5 minutes in the pan, then use a knife to separate the biscuits from each other and enjoy! Makes 6 large biscuits.
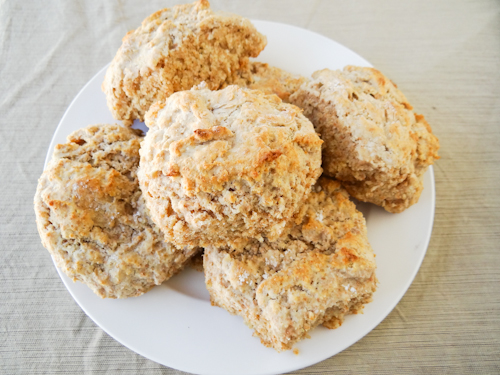
Whole Wheat Southern Style Biscuits (vegan)

  • 1 c. all-purpose flour
  • 1 c. whole wheat flour
  • 1 T. baking powder
  • 1/2 t. baking soda
  • 2 t. salt
  • 2 t. sugar
  • 6 t. Earth Balance buttery baking stick or shortening
  • 1 c. plain soymilk
  • 1 T. vinegar

-Preheat oven to 450 degrees.

-In a small bowl, combine the soymilk and vinegar and let sit on the counter for 10 minutes while you make the rest of the dough.

-In the bowl of a food processor, pulse together the flours, baking powder, baking soda, salt, and sugar.

-Cut the Earth Balance into slices and then dump the slices into the dry mixture in the food processor. Pulse until the buttery sticks are chopped into coarse crumbs.

-Add the soymilk mixture to the food processor and pulse a few times, just until it all comes together in one mass.

-Remove the dough onto a lightly floured surface and pat it out with your hands to about 1/2″ thickness. Fold the dough over itself twice, then pat it all out to 1″ thickness.

-Cut out 6 large biscuits using a biscuit cutter or the rim of a glass, and remove the biscuits to an ungreased pan so that they are gently touching each other.

-Bake in the preheated oven for 10-12 minutes, or until the biscuits are light golden brown.

-Cool for 5 minutes in the pan, then use a knife to separate the biscuits from each other and enjoy! Makes 6 large biscuits.

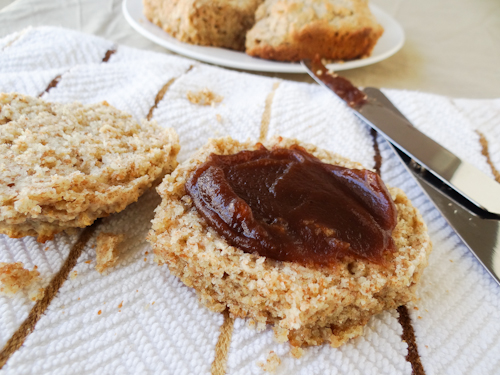
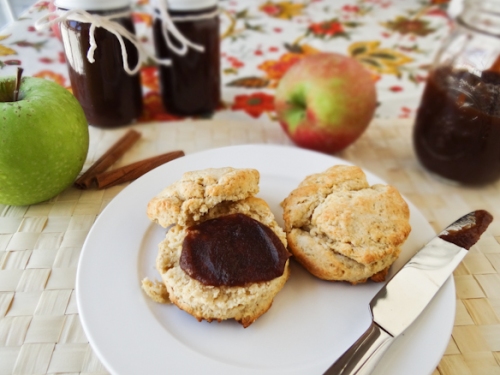
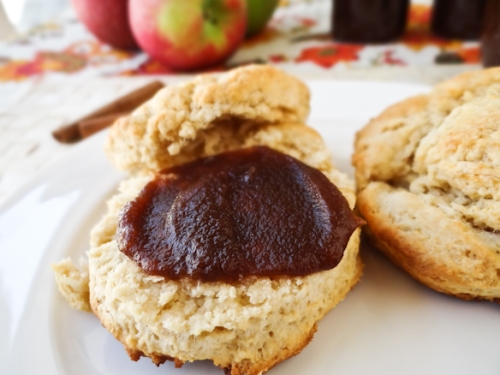
Of course, these are the perfect vehicle for crockpot apple butter

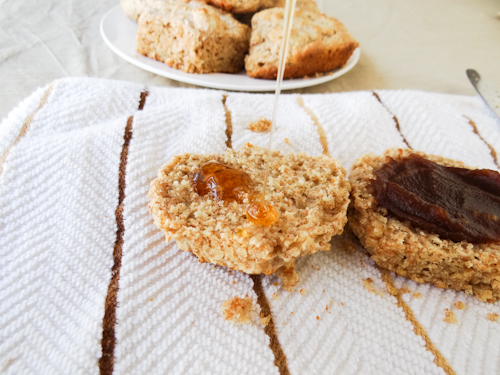
And, a personal favorite of mine, a drizzle of honey…
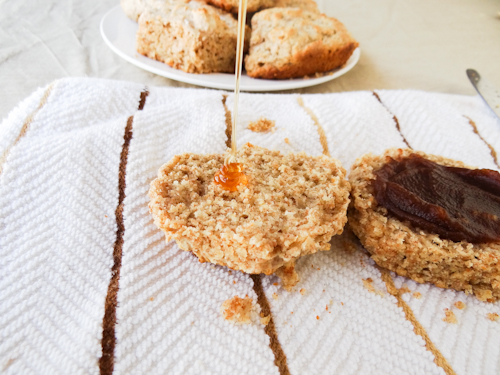
I’m so glad I finally figured these out because no true southern girl can be without her go-to biscuit recipe. Also…I took all these pictures in manual!!! WOOHOOO!!! After my little photography confessions yesterday, I’m excited to keep learning and hopefully keep improving. I think I’m already doing better than yesterday! 🙂
I’m off to do my meal planning of the week and get some homework done. The highlight of my day (besides these biscuits) will definitely be escaping the house to do my grocery shopping.

Thanks for reading!

-Lauren


1 Comment

Filed under Uncategorized

Fall Kale Salad

Yesterday something arrived in the mail that I’ve really been looking forward to.

I’ve been feeling like I’m in a major photography rut lately. I still have fun taking pictures of course, but since getting my new camera I’ve been using the auto mode as a crutch and I feel like I take the same picture from the same angles over and over again. I’ve also been letting the tripod Jason got me for Christmas gather dust in the corner even though I knew it would help me take better pictures. I bought this book by Hélène Dujardin to help me take control of my pictures and learn how to translate the way I feel about my food onto the screen. The book is so wonderful and I think it will change the way I take pictures forever. Today I took the first big step. I took my camera out of auto.

PHEW. That was scary. You don’t have to tell me, I know this is not the best picture you’ve seen on the blog. Alas, it’s not supposed to be. Taking these pictures was really hard for me because as I changed the settings I kind of felt like I was just taking stabs in the dark. I’ve done months of research about digital photography and how to take a properly exposed photo, but you never really know how it all works until you start practicing. And this was my first time practicing. It’s hard for me to take pictures this way when I know that I can just turn the little dial to auto and have a better looking photo without having to do any work! But I need to learn, it’s the only way for me to grow as a “photographer” (I feel weird using that word because I clearly have no professional training…this is just a hobby! 🙂 ).

I feel like I do have a bit of an excuse though. I’m not working with a DSLR, and my point and shoot (as wonderful and nice as it is) doesn’t have the same exposure settings that a DSLR would. The f-stop range is smaller than a DSLR, and it doesn’t record as much data in each photograph. What it DOES have is an auto mode called “background defocus” that is WONDERFUL because it gives the photo that lovely fuzzed out look in the background while keeping the center in focus, a characteristic of DSLR photos that we all know and love. I take ALL of my food photos in background defocus mode for that reason, and it’s one of the features that makes me love my camera SO much. It has helped me to get shots like this:


and this:

and this:

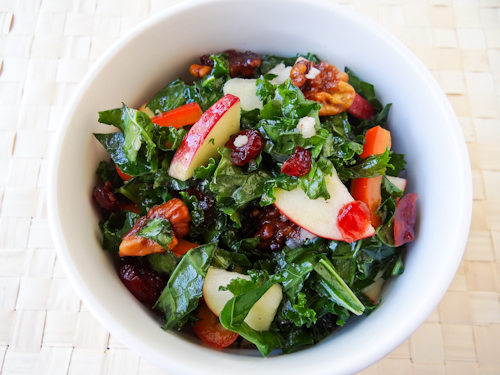
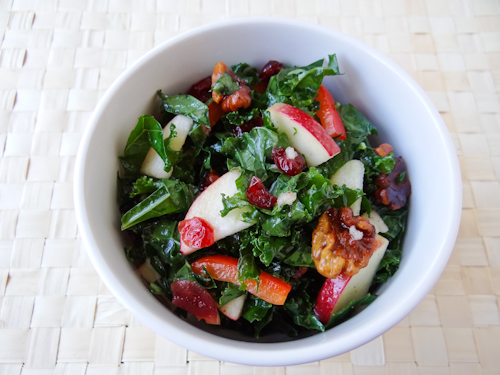
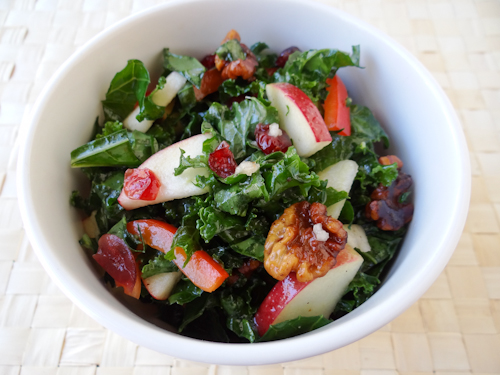
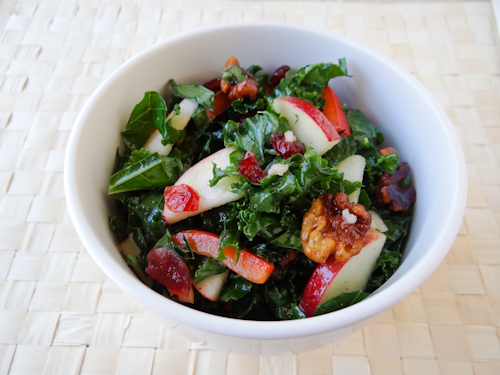
My camera creates that lovely effect by cheating! When I press the shutter to take a picture in that mode, the camera actually takes two pictures. Then it blurs one shot and keeps one in focus, and layers the defocused shot in the background so that it looks like the background is out of the focus in the same photo! It’s genius! BUT it takes most of the creativity out of my hands because it’s still an “auto” mode and I can’t change anything in the camera. Let me show you an example with this kale salad I made today. Here’s the salad in apperture priority mode (translation: I’m changing the settings on my own and controlling how much light the lens lets in):

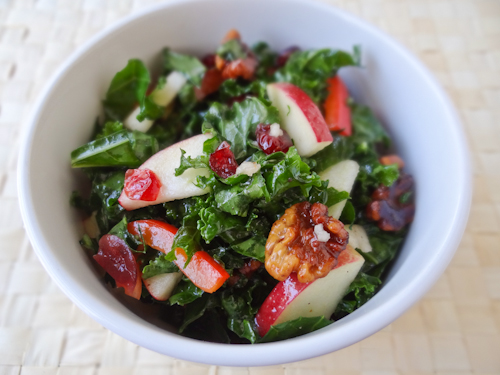
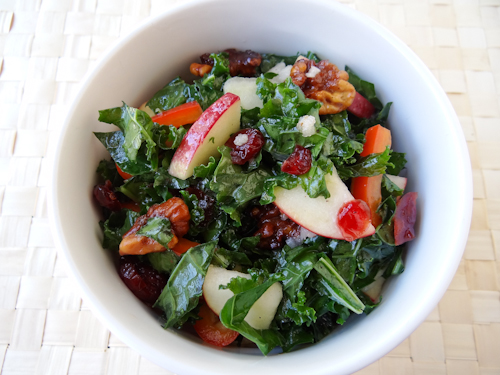
And here’s the same shot in background defocus mode (which is automatic):

See the difference?! The background defocus mode picture looks way better because it has that nice shallow depth of field and focuses in on the front of the salad more. Once I learn how to use the manual settings properly, I shouldn’t feel that way…but I’m still skeptical that I can get the depth of field I want with my point and shoot. We’ll just have to wait and see. So bear with me as I learn, because it’s pretty much like learning how to take a picture from square one.

All photography talk aside, this salad was really good. I used as many seasonal ingredients I could think of and it made for a lovely bowl full of flavor that I immediately inhaled. The spiced nuts inside are addictive!

Fall Kale Salad

  • 3 large kale leaves (enough for about 3 c. of chopped leaves)
  • 1 small/medium apple
  • 1/3 c. walnut halves
  • 1/2/ c. fresh bell pepper strips
  • 1/4 c. dried cranberries
  • juice of 1 lemon (about 2 T.)
  • 1 t. salt
  • 1 T. apple cider vinegar
  • 2 T. olive oil
  • 1/2 t. pepper
  • 1 clove of crushed or finely minced garlic
  • 2 t. light agave nectar
  • 1 t. cinnamon
  • dash of allspice
  • 1 t. sugar

-Preheat oven to 350 degrees.

-Rinse and dry the kale leaves, remove the stem from the leaves, and chop the leaves. Set aside in a large bowl.

-Rinse, peel, core, and slice the apple. Place the slices in a small bowl and pour the lemon juice over them. Set aside in the refrigerator.

-To the large bowl with the kale leaves, add the bell pepper, cranberries, salt, apple cider vinegar, oil, and garlic. With your hands, toss the ingredients and massage the dressing into the kale. Place the entire bowl in the refrigerator to rest for 15 minutes.

-While the salad is resting, toss the walnuts in a drizzle of oil and sprinkle them with cinnamon, allspice, and sugar. Place in the preheated oven and toast for about 10 minutes, tossing occasionally to prevent burning. Remove the nuts from the oven to cool.

-When you’re ready to assemble the salad, pour the apples (lemon juice and all) and walnuts into the kale mixture and toss to combine. Serve immediately. Makes 2 servings.

If you’re not really into the photography talk thing, don’t worry, I don’t plan on talking about it in depth very often. I’d rather just show you nice pictures and then talk about other things, like the food. 🙂

Thanks for reading!

-Lauren


8 Comments

Filed under Uncategorized

Easy Apple Turnovers

Apple extravaganza continues over here! No matter how many we eat or how many I use for cooking, our stockpile from the orchard doesn’t even seem to have a dent in it. I’m estimating that we still have a good 20 lbs. in the fridge right now. 😮 Too bad, that means we have to suffer through more apple desserts like this one…

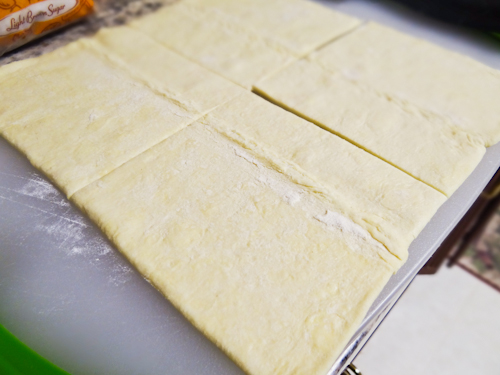
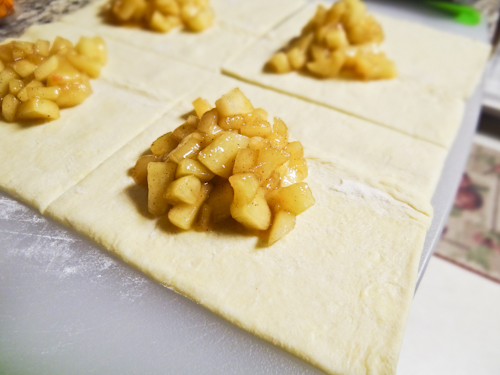
My family and I went through a phase where we were obssesed with the frozen Pepperidge Farms apple turnovers. With the flaky puff pastry and the sweet apple center, they make the best dessert. This homemade version is very similar to that store bought kind, and it’s easy as puff pastry pie to make. I use a frozen puff pastry sheet (I could have made my own but I definitely don’t have time for that…I am in law school after all), and sautée a quick filling and then it’s as easy as one…

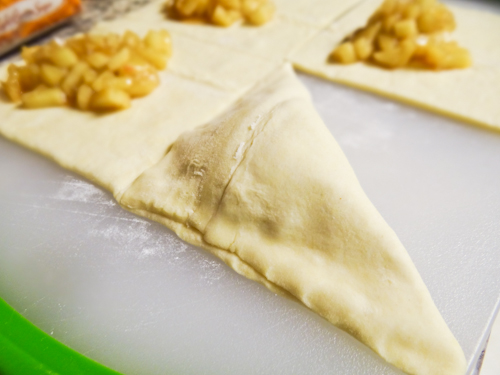
two…

…three!

I love using frozen puff pastry as a shortcut…it makes me feel fancy without actually doing the fancy work.

Easy Apple Turnovers

  • 1 c. chopped apples (that’s about 2 medium apples worth)
  • 1/4 c. brown sugar, packed
  • 1 T. coconut oil or butter
  • 1/2 t. cinnamon
  • 1/4 t. nutmeg
  • 1/4 t. allspice
  • 1 t. cornstarch
  • 3 T. water
  • 1 sheet frozen puff pastry, thawed (that’s half of a standard package)
  • 1 egg + 2 T. milk, beaten together well (optional)

-Preheat your oven to 400 degrees.

-In a medium skillet, heat the butter or oil over medium-high heat. Add the apples and sautée for a couple minutes.

-Add the brown sugar, cinnamon, nutmeg, and allspice to the apples and stir well to coat. Continue to sautée for another minute.

-While the apples are cooking, dissolve the cornstarch into the 3 T. of water in a small bowl. Add this mixture to the apples and stir.

-Continue cooking for another minute, and then lower the heat to medium-low. Continue to stir and cook until the cornstarch has dissolved (until the juice isn’t cloudy and the mixture has thickened up). Remove the pan from the heat and set aside to cool slightly.

-While the apples cool, prepare the puff pastry sheet by placing it on a lightly floured surface and cutting it into 4 equal squares with a sharp knife.

-Spoon some of the apple mixture (a scant quarter cup) into the center of each square. Pick up one corner of each square and fold it over to the opposite corner, sealing the edges by pressing down with your finger. It should be in the shape of a triangle and sealed together on the two open edges.

-If you want a nice shine on the turnovers when they bake, brush the egg-milk mixture over the top of each turnover with a pastry brush.

-Place the turnovers onto a parchment lined baking sheet and bake for 20-25 minutes, until they have puffed up high and are golden brown in color.

-Remove to a cooling rack to cool for 10 minutes before serving. Makes 4 turnovers.

I can pretty much guarantee you that these won’t last long. I know they’d be awesome à la mode, I may have to test that out later this evening…

What apple dish should be next up? Please share any requests! 🙂 Of course, an old fashioned apple pie will need to happen soon. But I have SO MANY apples that even a pie is not going to use them up. I have to pace myself…one apple at a time. I’m thinking the next dish should be something for breakfast, or maybe something savory. Right after I finish making my way through these.

I hope you all are enjoying your weekend! Don’t forget to let me know if there’s any applelicious recipes that you’d like to see me tackle next.

Thanks for reading!

-Lauren

P.S.-I’m working on getting my Recipage complete with all my blog recipes. I so appreciate it when you all come back and comment on posts telling me that you made one of my recipes and enjoyed it–I really want to make them an easier and more printable format for you! Let’s hope I’ll be done inputting recipes by the end of the weekend.

8 Comments

Filed under Uncategorized

Late October VA Produce

Fall is REALLY here. It had been in the 70’s and 80’s here recently, but when I woke up this morning it was 54 degrees with a strong wind blowing leaves off the trees. Fall has also clearly reached the farm.

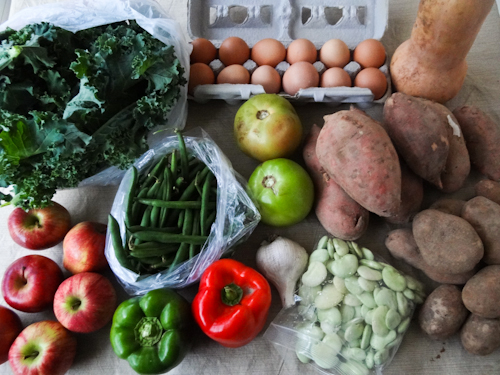
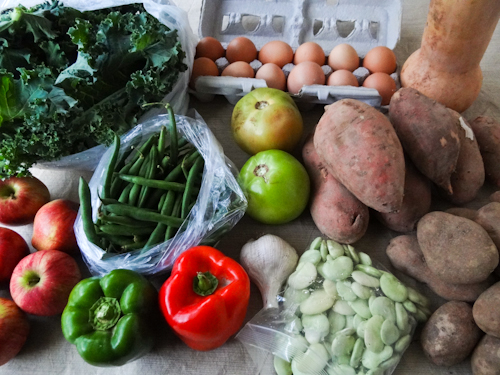
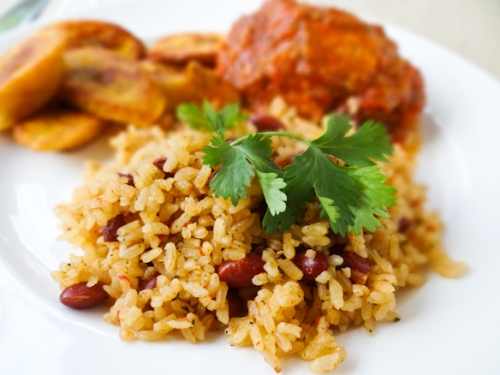
I’m glad this CSA box didn’t load me up with squash like last time because we still haven’t finished it all! But I am more than happy to be loaded up on sweet potatoes again because we’re fresh out of those! Fall naturally creates produce that is “warming” and full of antioxidants to help prepare us for colder weather. For the second half of October I got…

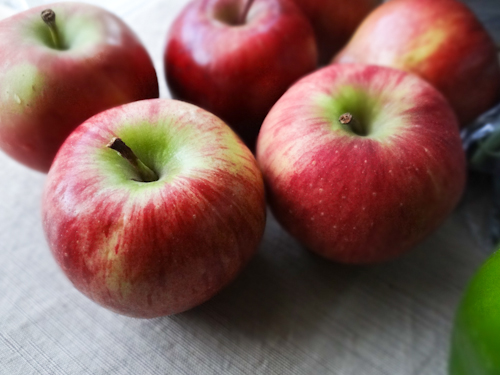
Macintosh apples! These are from THE SAME ORCHARD that we drove 3 hours to visit over the weekend…talk about a weird coincidence…

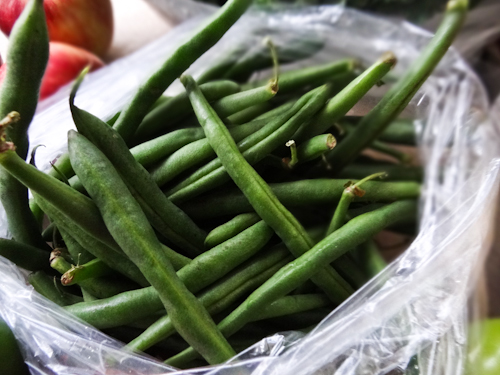
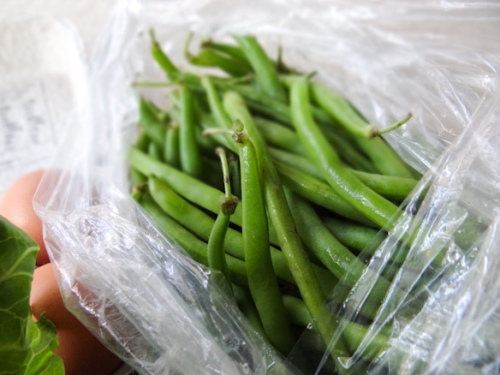
Green beans:

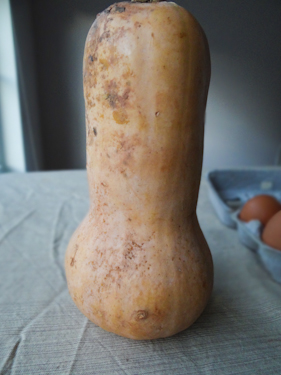
Butternut squash:

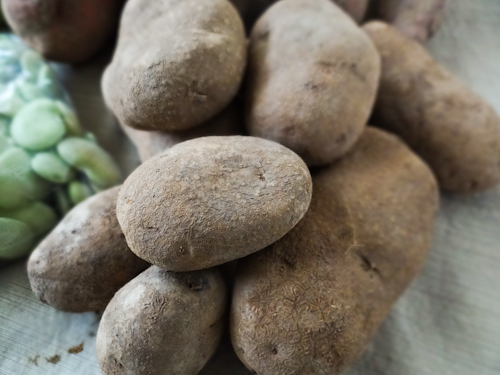
Russet potatoes and sweet potatoes (forgot to take a picture of the sweets *gasp*):

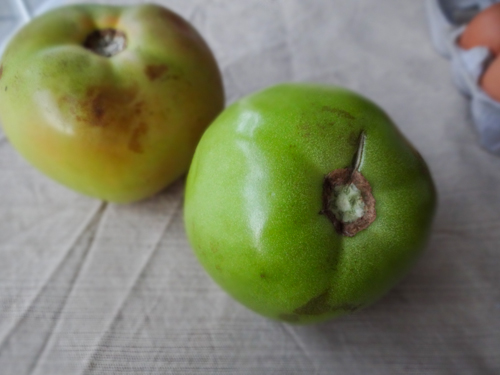
Green tomatoes (oh I know exactly what I’m doing with these babies):

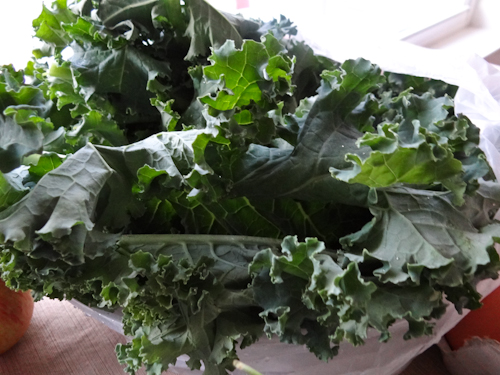
Curly kale:

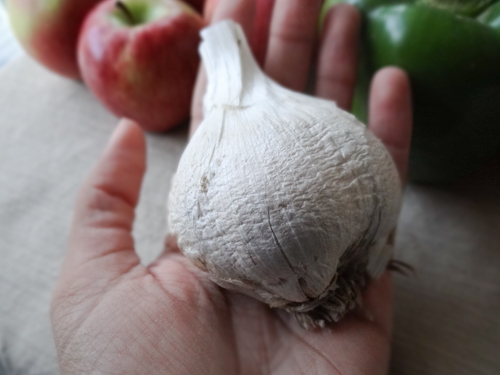
Elephant garlic:

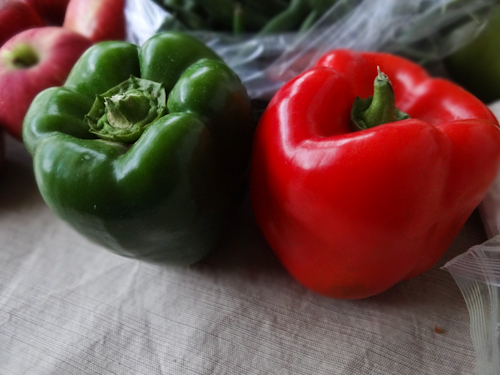
Red and green bell peppers:

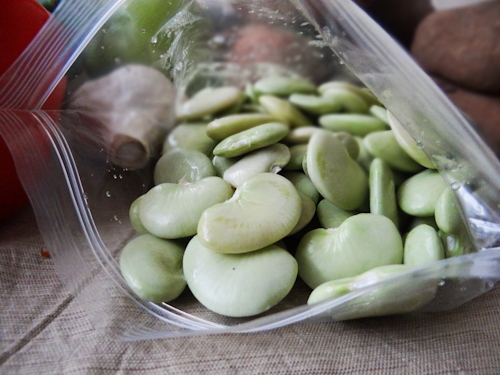
Butter beans (never made these):

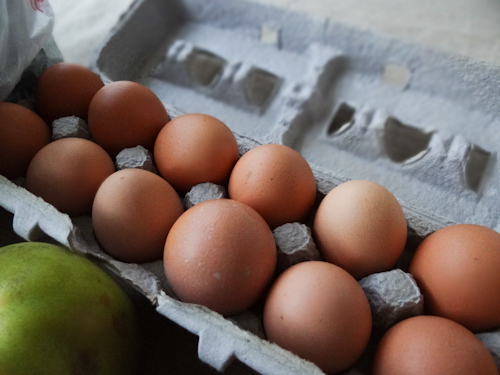
…and our usual dozen free range eggs:

And that’s October!

So when you see these fruits and veggies in a grocery store near you, it’s at the peak of its season! I never even realized that garlic had a season, but apparently it does and apparently its season is the colder months. Too bad because I rely on it pretty much every day of the year. 😛

Now that I have more apples to add to my already HUGE stockpile from the orchard, I really need to start finding ways to use them up faster. I have one special way in particular that I’m looking forward to showing you tomorrow. It involves puff pastry. Nuff said.

Thanks for reading!

-Lauren
 

2 Comments

Filed under Uncategorized

WIAW- 5 Years Strong

Five years ago today, Jason and I decided to officially become boyfriend and girlfriend! And now here we are…married, halfway through law school together and still going strong. Five years is a long time, I really can’t believe it’s been that long. What’s so surprising to me is that even after five years of being best friends attached at the hip, our relationship is always changing and we’re still learning things about each other as we learn and grow as people. For example, I have recently learned that Jason hates how I can spend all day reading food blogs like a zombie. Oops. I’ll work on that. Tomorrow.

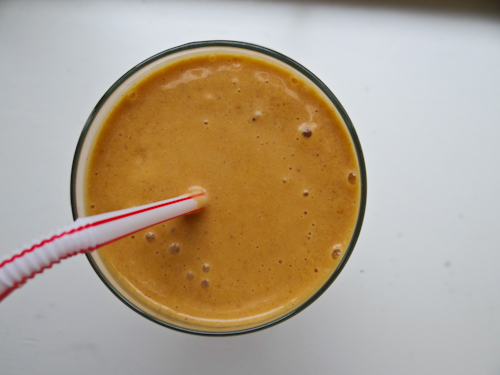
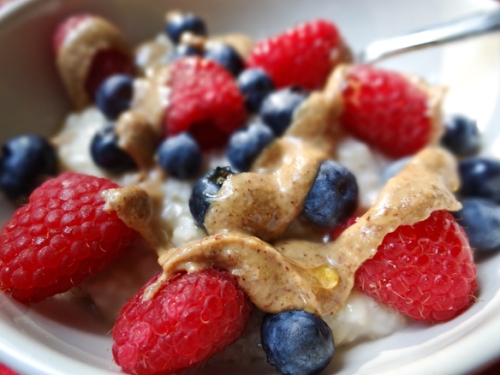
Breakfast: pumpkin pie smoothie (pumpkin puree, frozen banana, almond milk, a little peanut butter, sprinkling of cinnamon, nutmeg, ginger, and allspice)

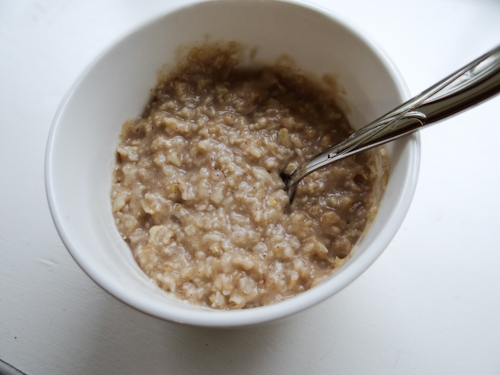
Second Breakfast/Early Lunch: rolled oats with almond milk, banana butter, and apple butter mixed in

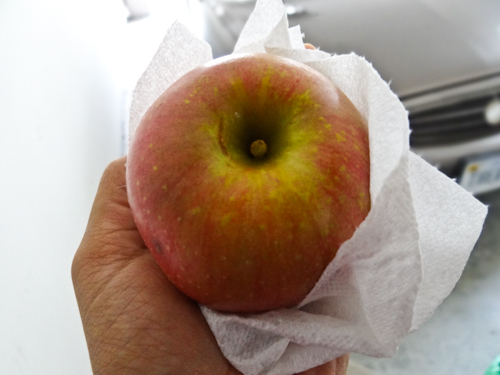
Snack: Fuji apple (one of the ones we picked!) eaten on the go…literally…so excuse the blur

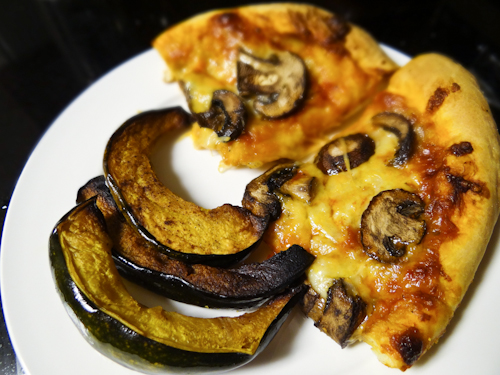
Second Lunch: leftover homemade mushroom pizza, leftover roasted acorn squash

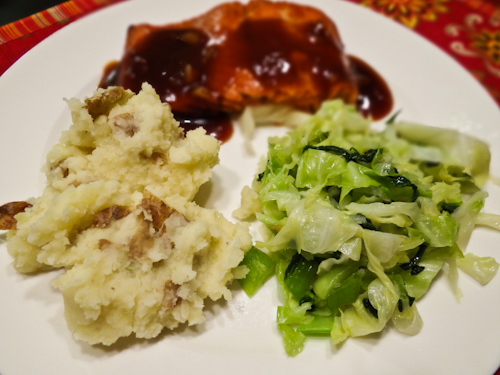
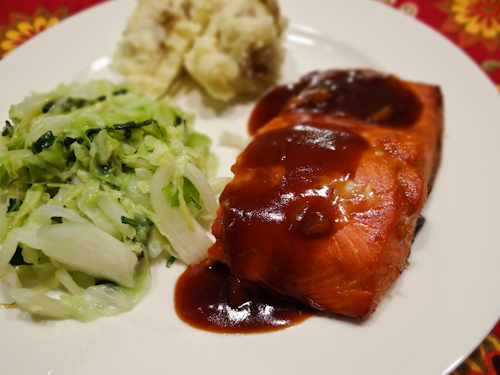
Dinner: Sockeye Salmon Fillet w/ Bonefish Grill’s Pan Asian Sauce, smashed potatoes, stir-fried cabbage and baby bok choy

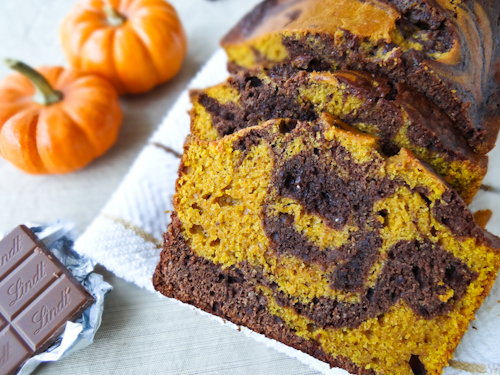
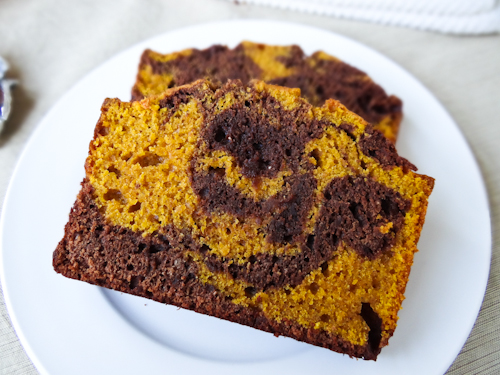
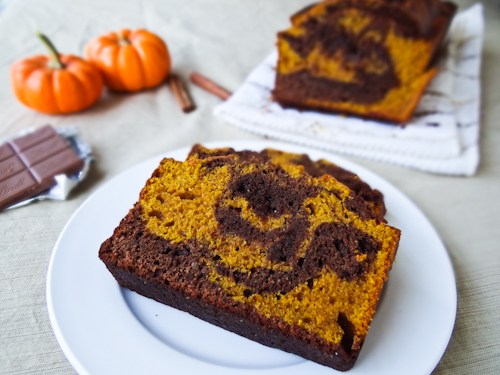
Dessert: a slice of pumpkin-brownie swirl loaf…aka fall heaven in brownie/bread form

Like my invention of new meals? That’s what happens when you’re in a hurry and eat whatever you fancy when you’re hungry…either that or I’m a hobbit. Maybe I should drop the whole “second breakfast/early lunch” thing and just go with official hobbit names like “elevenses” (if you know what I’m talking about then I love you dearly, if not then consider yourself normal). Hobbits were the original intuitive eaters. Take note.

I’m going to go drown myself in Criminal Minds and then attempt to get a good night’s rest. Thanks for reading!

-Lauren
 

6 Comments

Filed under Uncategorized

Pumpkin-Brownie Swirl Bread

Have I mentioned here before that I love Trader Joe’s?! I was born in California, also the birthplace of Trader Joe’s, and as a kid my absolute favorite snack was the TJ’s peanut butter pretzels. But when my parents moved us to Georgia, those pretzels became a once a year treat that got mailed to me from my incredibly sweet relatives who always remembered to send a Christmas box full of Trader Joe’s goodies. Since I’ve moved to Virginia, Georgia now has several Trader Joe’s (thanks alot, guys…nice timing) so pretty much I will never be without one again. Besides the great prices and amazing cheese section, one of the best parts about TJ’s is the free samples.

This amazing treat was inspired by a sample that Jason and I tasted there a couple days ago. They combine their pumpkin bread mix and their truffle brownie mix to make an incredibly satisfying pumpkin swirl brownie. One bite in the store, and I told Jason I would definitely be trying my own version at home.

Hold the phone. Call the sheriff. Sound the alarm. Shut the door. This is delicious.

Pumpkin-Brownie Swirl Bread (inspired by the Trader Joe’s pumpkin swirl brownies and adapted from Downeast Maine Pumpkin Bread and my own brownie recipe)

For the brownie batter:

  • 1/2 c. melted Earth Balance (butter can be substituted)
  • 1/2 c. ripe, mashed banana (about 1 banana)
  • 1 1/2 c. organic sugar
  • 1/2 c. cocoa powder
  • 3 eggs
  • 1 t. vanilla extract
  • 1 c. all-purpose flour
  • 1/2 c. whole wheat pastry flour
  • 1/2 t. salt
  • 1/2 t. baking powder

-Whisk together the Earth Balance, banana, sugar, cocoa powder, eggs, and vanilla.

-Combine the remaining ingredients in a small bowl and then mix into the wet ingredients, just until it’s all combined. Set the batter aside

For the pumpkin batter:

  • 1 c. pumpkin puree
  • 2 eggs
  • 1/2 c. melted Earth Balance or oil
  • 1/3 c. water
  • 1 c. organic sugar
  • 1 1/2 c. all-purpose flour
  • 1/4 c. whole wheat pastry flour
  • 1 t. baking powder
  • 1/2 t. salt
  • 1/2 t. cinnamon
  • 1/2 t. nutmeg
  • dash of allspice
  • dash of ginger

-Whisk together the pumpkin, eggs, oil, water, and sugar until smooth.

-In a separate bowl, combine the remaining dry ingredients.

-Whisk the dry ingredients into the wet just until combined. Set batter aside.

To finish the bread:

-Preheat oven to 350 degrees and grease a large loaf pan.

-Using 2 large spoons, alternate placing a spoon of each batter into the pan (I illustrate the method in this post) until the pan is full. Using a toothpick or a thin knife, swirl the batter around a little.

-Bake in the preheated oven for about 50 minutes-1 hour, checking for doneness with a toothpick. Cover the top loosely with aluminum foil if it starts to brown too much.

-Remove the loaf and let cool in the pan for 15 minutes. Flip the bread out onto a cooling rack and allow to cool completely, about 45 minutes more minutes. Slice and enjoy! Makes 1 large loaf, about 12 servings.

I don’t know why I never thought of pumpkin and chocolate together, but it really works. This recipe would make great muffins or you could bake them in brownie form and I’m sure they’d be just as awesome. So moist and flavorful!

I’ve been baking a lot…that’s what I do when I get stressed out. The semester is picking up, holidays are coming soon, I’m getting emails about registering for next semester and searching for jobs…

With something sweet in my stomach, my complaints go away. Plus, ’tis the season for baking!

Thanks for reading!

-Lauren
8 Comments

Filed under Uncategorized

Slow Cooker Apple Butter

I’ve been making apple butter for quite some time. As a kid, I would help my mom make homemade gifts to give to people during the holidays, and apple butter was always a favorite. Since the canning process can be a little tricky, usually I would just help out and my mom would do most of the legwork. But when Jason and I moved here to Virginia last fall and went on our first apple picking trip, I was really excited to try my hand at making apple butter all by myself. Flashback alert:

(Apple picking in Charlottesville, October 2010)

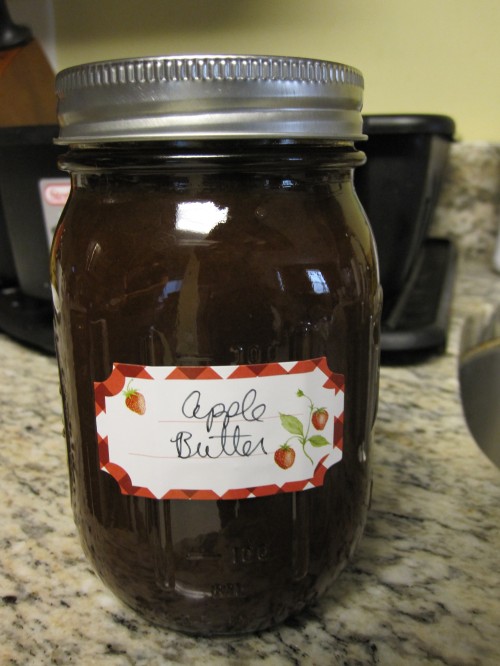
(my first jar of apple butter! October 2010)

Since last year my cooking skills have developed significantly, and so when we went apple picking this year I knew I wanted to tweak the recipe a bit to make it even tastier and healthier.

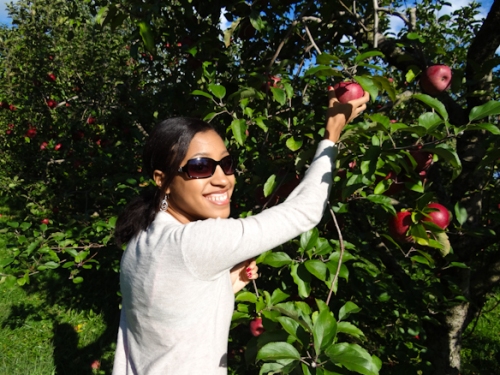
(Apple picking in Roseland, October 2011)

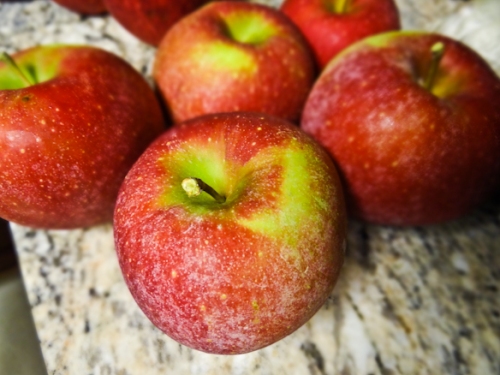
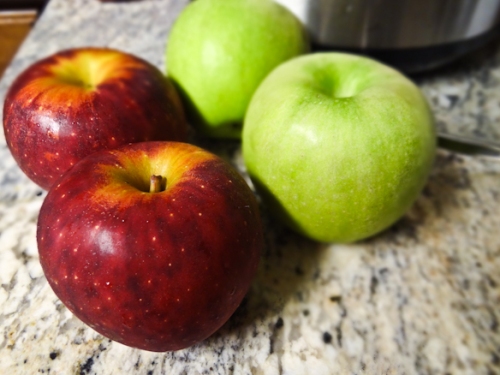
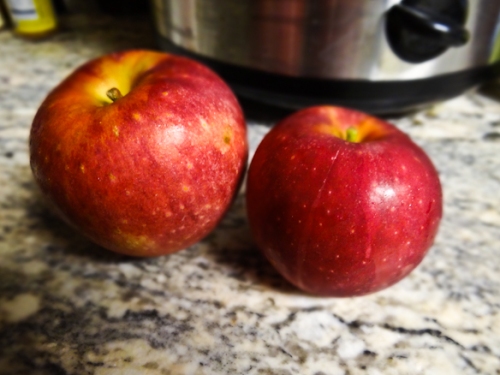
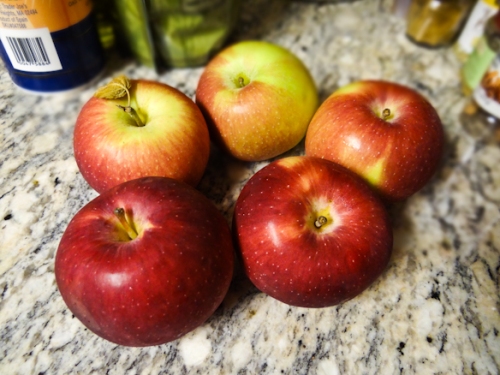
This year I used a larger variety of apples to give the flavors in the butter more depth. It helps to balance out the sweetness and tartness because each variety of apple is different. I used Rome:

Granny Smith, Winesap:

Stayman:

and Empire:

I also significantly lowered the amount of sugar I used and divided the sweeteners up between plain organic sugar, brown sugar, and honey.

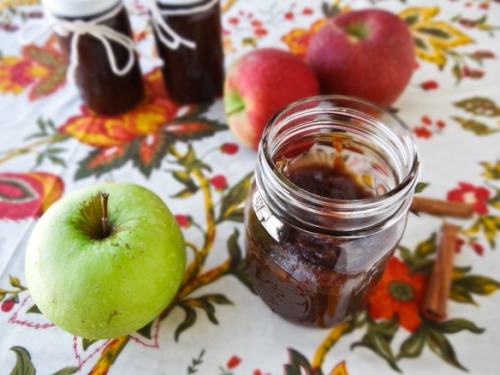
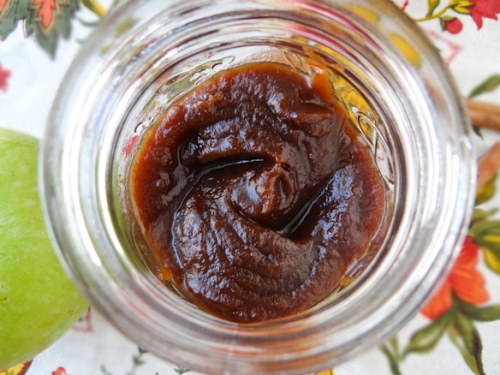
The result is delicious, if I do say so myself…

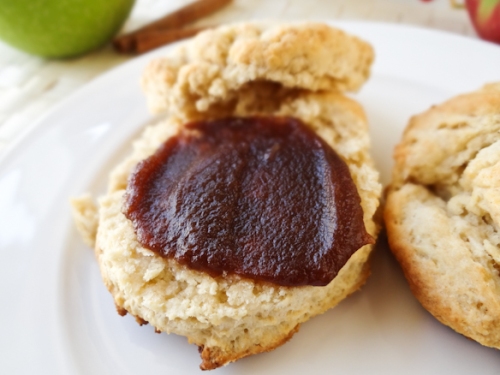
Of course, good apple butter belongs first and foremost on a fresh, homemade biscuit! There’s nothing like it.

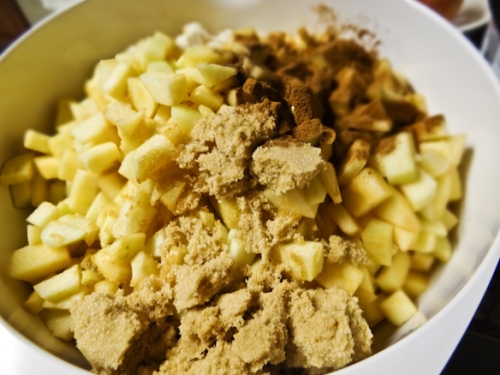
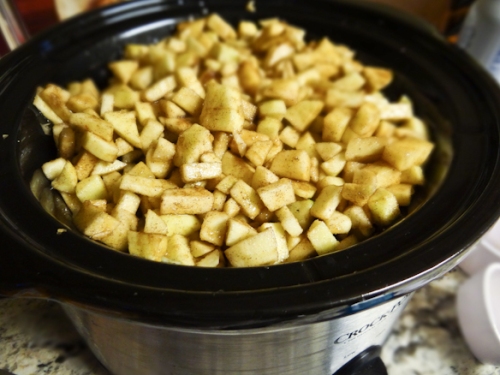
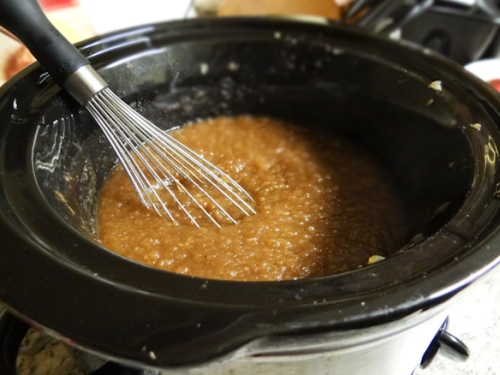
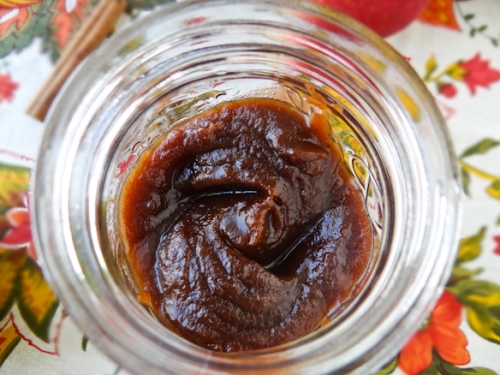
All of the cooking takes places in the crockpot, and I cook mine on low heat over the course of 12 hours. It’s like magic watching it turn from this

…to this

…to this!

It’s well worth the wait!

Slow Cooker Apple Butter

  • 20 c. peeled, diced apples (any variety of baking apples will work)
  • 3/4 c. brown sugar
  • 3/4 c. organic sugar
  • 1/4 c. honey
  • 1 T. cinnamon
  • 3/4 t. nutmeg
  • 3/4 t. allspice
  • 1/2 t. ginger

-Combine all the ingredients in a large bowl to coat the apples.

-Place the apples into a crockpot and cook on high for 1 1/2 hours, stirring after the first hour.

-Reduce the heat to low and cook for an additional 8-10 hours, stirring occasionally along the way. After the first couple hours, you can use a potato masher to start breaking up the apples. After about 4 hours, you can use a whisk to start to smooth the apples out.

-After about 10 total hours of cooking, remove the top and let the butter cook uncovered so that any liquid will evaporate. When the butter is smooth, thick, and dark in color with no extra liquid sitting on top, it’s done cooking.

-Remove the butter to clean jars and allow to cool. You can freeze or can the butter, or just refrigerate it once its cooled. Makes about 5 8 oz. jars.

This is some seriously good stuff. Plus it makes your house smell so good, you’ll want to eat the air.

Try some of your own if you haven’t before! The crockpot and the apples do all the work for you. You won’t be disappointed.

Thanks for reading!

-Lauren
P.S.-I just signed up for my own Recipage to keep my recipes organized and make them easier for you all to access and print. However I have something like 125 recipes to transfer to the page so it might take me a few days! I’m so excited for it to be done! 🙂

7 Comments

Filed under Uncategorized

Southern Style Green Beans

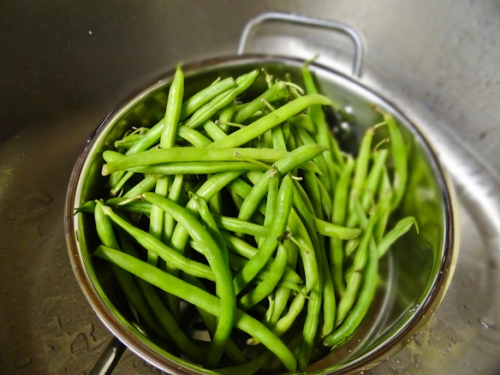
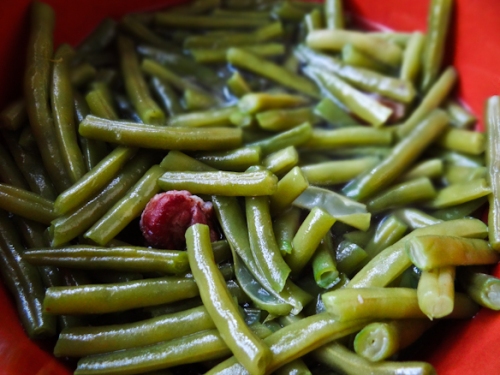
Since one of my October goals was to start preparing veggies in different ways, and because it’s Soul Food Sunday, I thought that a classic southern green bean recipe would be perfect for our Sunday dinner tonight. I had it on my mind as soon as I got these lovelies in my CSA box!

This recipe does take some time, but it’s not active prep time. After rinsing and breaking up the green beans, 90% of the work is done.

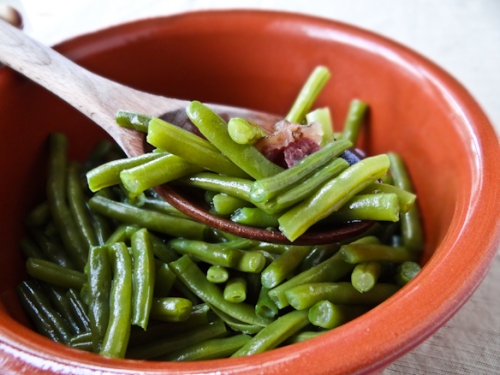
If you’re from the South you know that Southerners love cooking their veggies with meat. It’s usually hamhock all the way, and sometimes even some lard in there too. Of course, I skip the lard. When I’m doing a traditional version like this I do like to use smoked meat, but turkey works just as well as hamhock and it’s not as fatty. The meat adds a delicious flavor, but for a vegetarian version you could skip the meat and just add a little liquid smoke to give it something extra.

These are a nice change to your standard sauteed green beans–I have to remember to add these to our rotation.

Southern Style Green Beans

  • 1 lb. green beans
  • 8 c. water
  • 1 smoked hamhock or smoked turkey wing
  • salt
  • garlic powder
  • onion powder

-In a large pot over medium heat, bring the water and meat to a boil. Add in a liberal amount of salt (I’m talkin’ several tablespoons, most of it will dissolve into the water so you need a lot), and 2 t. each of garlic and onion powder. Cover and let cook for an hour.

-Rinse the green beans, snap off the ends, and then snap each bean in two. Place the clean beans in the boiling water. Cover and lower the heat to it’s lowest setting. Let cook for 1 1/2-2 hours, tasting for seasoning and stirring occasionally. Let the beans cook completely but you don’t want them overcooked, they should still keep their color.

-Serve with a slotted spoon and enjoy! Makes 4 side dish servings.

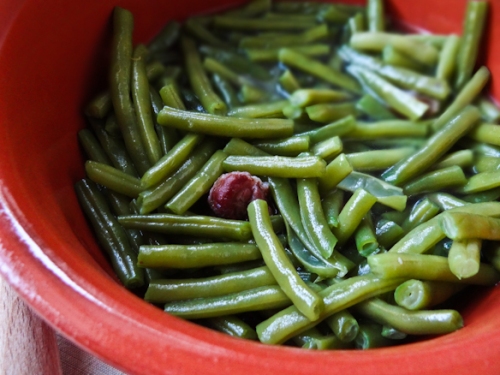
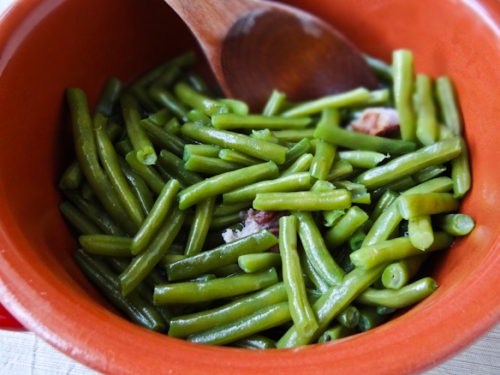
These taste so familiar to me, I love it!

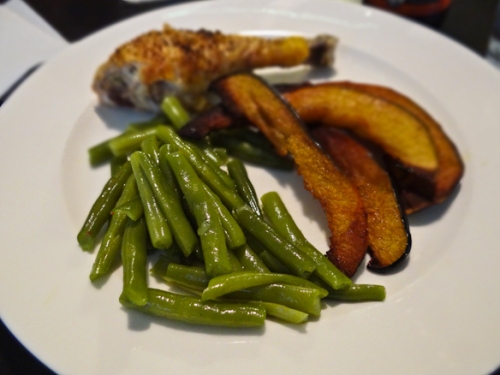
We ate them alongside roasted chicken and roasted acorn squash (I used Kath’s method for the squash, delicious!) for dinner.

This was an especially exciting night in the kitchen because not only did I have my hubs alongside me to help, but I finally put some of those apples we picked to good use in one of my favorite recipes that I can’t wait to share with you all tomorrow! (Hint: it’s sitting in the crockpot…)

Thanks for reading!

-Lauren
2 Comments

Filed under Uncategorized

Night Out on the New Town

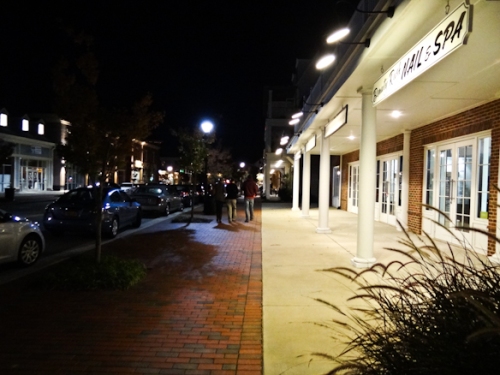
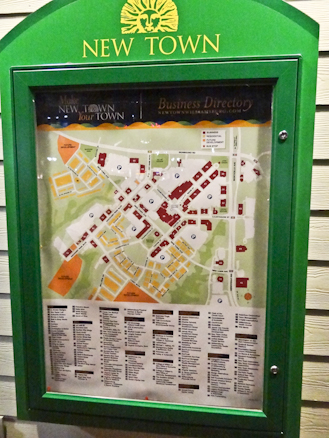
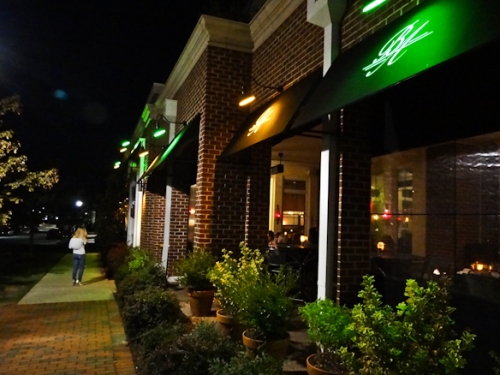
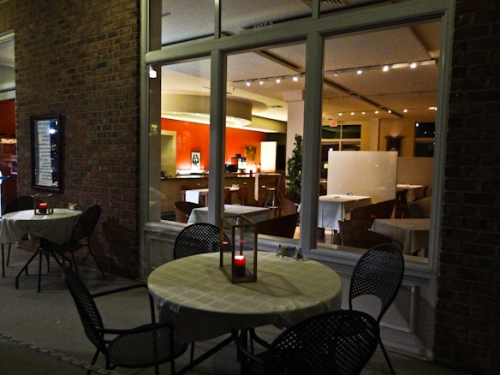
Jason and I had a date night tonight–dinner and a movie! The ‘burg is a pretty small place, but when picking where to go out there are a few different areas to choose from. The newest area, ironically named New Town, is one of the more popular places to be on the weekends and we love going there!

Tonight we saw 50/50, that movie with Joseph Gordon-Levitt and Seth Rogen where Levitt’s character gets diagnosed with cancer. The movie got great reviews and the reviews are right! We loved it.

(That’s obviously not the movie…just one of those annoying previews that come BEFORE the previews…)

The movie theater is kind of at the heart of New Town, and then there’s dozens of shops, restaurants, businesses, and condos surrounding it. It’s a multi-use community so everything is all mixed up together. Must be very convenient for the people who live there!

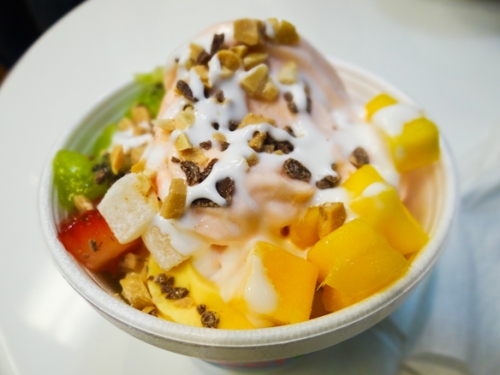
There’s a Sweet Frog conveniently located right by the theater, so after the movie we went to try it for the first time.

I got a small cup with about half mango swirl yogurt and half Georgia peach yogurt topped with strawberries, kiwi, mango, mochi, marshmallow drizzle and a sprinkle of nuts and heath bar.

It was so delicious! I was obviously in a fruity flavor mood.

The mango flavor was non-dairy and SO GOOD, and I should have only gotten that one because now I have a tummy ache from the other flavor that did have dairy! 😛 Next time I’ll know.

While the whole planned multi-use community thing feels a little manufactured at times, I love the idea of these types of places where you can be in walking distance of everything you could possibly need. Ideally, it would be a real downtown area that organically became that way…but you can’t have it all! These people can walk to Trader Joe’s, Panera, and Barnes & Noble within a few minutes of their home and it doesn’t get much better than that.

We pretty much always bring company here because there’s something for everyone. And the two of us haven’t even worked our way through half of the restaurants it has!

I hope you are all having a fun weekend, too! Thanks for reading!

-Lauren
3 Comments

Filed under Uncategorized